Note that you should check as 2007 + Xterras take a different control arm as did 05 - 06
Here is my small contribution to the Xterra community:
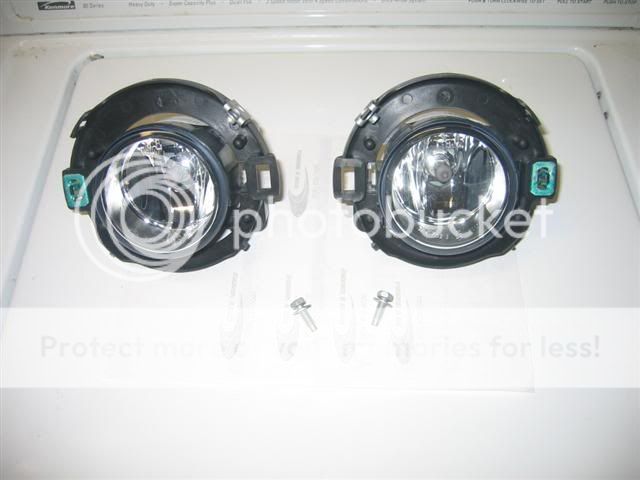
First I ordered my "kit" from yournissanparts.com because it's the best price I could find and plus they include mounting hardware. Search the forum for coupon codes ($10 off, I think). This is what you get:

There is no right or left specific fog-light. The green clips will determine which side will be which.
(2)If you have time, take off the whole bumper and access will be a lot easier, but if you are pressed for time and/or lazy like me, take out the following screws and "pull back" the plastic flaps to gain access to the back of the bumper and the fog-light area.

(Note: There is another screw to the right of this one, forgot to capture it in the image.)

(Note: I found it easier to turn the wheel to the far left or right depending on which side you are working on.)
(3)Reach in and push on the tabs holding the fog light cover in. This is the back of cover.

(4)Next put the green clips in. For the passenger side, put the clip on the left side (if looking at the light) and put the other clip on the right side for the driver's side. Slide the bolt holder on the right side (passenger side) and the left side on the driver's side.
(5) This is a shot of the passenger side. The larger tab on top is where the bolt will be going through. A tab on the fog light housing should fit into the lower tab in the picture.
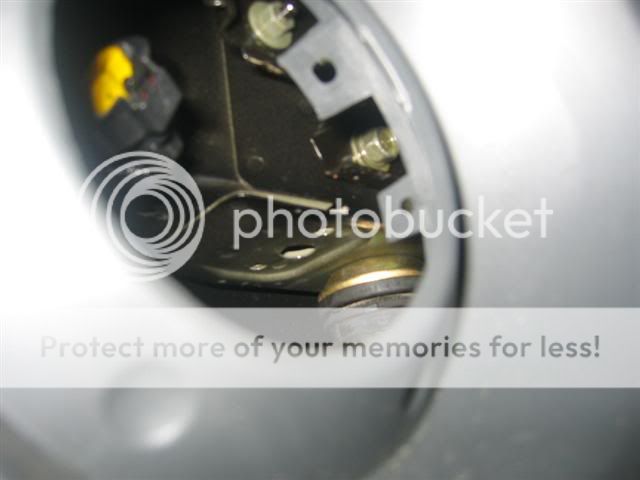
(6) This is a shot of where the tab will go into the green clip. Sorry not the greatest shot.

(7) This is the fog light installed with the harness connected. The harness is taped up above the hole.

(

Next, place bolt in and screw down. The fit is already tight, but the bolt will really secure it. You can try to just hand tighten it, but try to use a socket (10mm) to secure it. Not a whole lot of room, but a small socket and small hands (I had a hard time because I have big hands) will work. I had an easier time on the driver's side than the passenger side mainly because I was able to use my dominant hand (right) on the driver's side. Removing the bumper will give you great access to screw the bolt down.
(9) Reinstall plastic pieces and do the same for the other side.
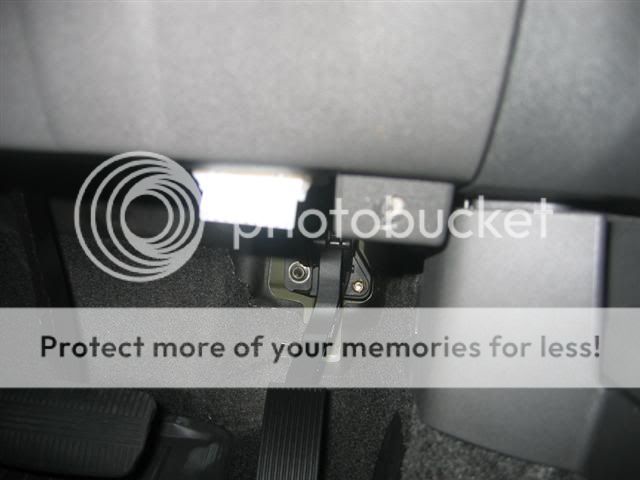
(10) Next is installation of the new stalk. You have to remove this screw.
(11) Pull down firmly but gently...just enough so you can pull apart the plastic pieces on the steering wheel.

(12) Next remove the following three screws from the steering wheel housing.


(13) Pull apart the two pieces covering the steering wheel. Firm, but gently...

(14) There are two black tabs holding the stalk to
the steering wheel column. One above and one below. Press down and the stalk pops off.


(15) Picture without the old stalk.
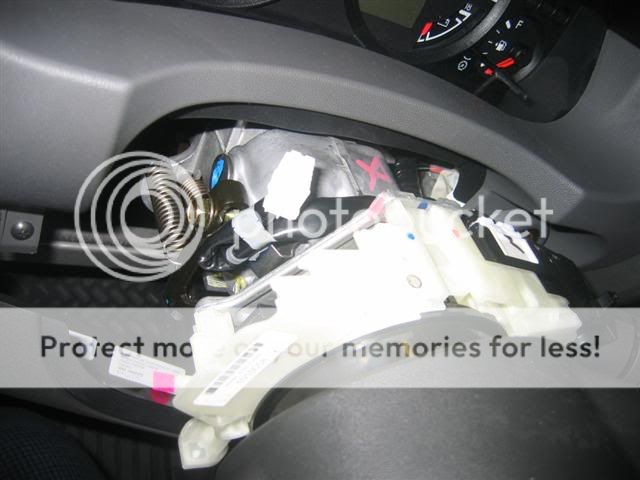
(Side Question: There is a loose connector (pictured)...is this for the steering wheel control for the radio if I had one?)
(16) Picture of the new stalk installed (just align and pop it in making sure tabs click)

(17) Reassemble the plastic pieces and you are done!
Hope this helps! Email me if you have any questions.
Side question: Anyone figure out which wire to tap in order for the fog lights to work independently of the headlights?[img][/img]
UPDATE: Thanks to USMC XTERRA for the extra info and picture for those of you with a Schrockworks bumper.If you have fog lamps Now is the time. On the right you see a factory fog lamp. SHROCKWORKS provides the ring on the bottom left and the bolts to secure. You need to remove 4 screws and dump that thingamagig at the top #20 Torx needed. Ok, Use the provided Spacer ring , put it to the bumper....You THEN install foglamp with the adjustment knob to the bottom of bumper, glass to front, then put bolts in with nuts to the rear, snug up nuts , use Blue thread-locker. I recommend removing lamps with a twist, Don't Touch the glass but set aside so if you whack em, your lamps don't break. You can easily install lamps after bumper is mounted. DON'T touch the glass!
If you do, clean it with alcohol to remove oil from skin.


